

How to Zero Gap Your Trimmer

A zero-gapped trimmer is the difference between a line-up that looks drawn on and one that looks fuzzy. It's a five-minute job with a small screwdriver. Here's exactly how to do it, what "zero" should look like, and how to stay safe doing it.
Time
5 minutes
Tools
Screwdriver
Level
Intermediate
Watch it done first
New to this? Watch this once before you pick up the screwdriver. It covers trimmers and clippers.
Video: Barber Style Directory on YouTube.
What "zero gap" actually means
Every trimmer has two blades. The big fixed blade stays still. The small cutter slides back and forth under it. The gap is how far the cutter's teeth sit behind the fixed blade's teeth. Most trimmers leave a small gap from the factory. Zero gapping closes it.
FIXED CUTTER- - EDGE
Too open
Factory setting. Safe, but lines look soft and it can pull.
FIXED CUTTER- - EDGE
Zero gap ✓
Cutter even with, or a hair behind, the edge. Sharp and safe.
FIXED CUTTER- - EDGE
Negative gap ✗
Cutter sticks out past the edge. This cuts skin. Never do this.
What you need

- Small Phillips screwdriver (most trimmers come with one)
- A stiff brush and a towel
- Andis Clipper Oil ($4.95) or Wahl Clipper Oil ($3.95)
- Good light. Your phone's flashlight works.
Step by step
1
Turn it off and clean it
Switch the trimmer off. Brush the hair out of the teeth and from behind the blade. A few trapped hairs are enough to throw your alignment off.
2
Loosen the two screws a quarter turn
Just enough that the fixed blade slides when you push it with your thumb. Don't take them out, or the blade and spring come apart.
3
Line up the blades
Hold it teeth-up at eye level with a light behind it. Slide the fixed blade until the cutter's teeth sit even with its edge, or just a hair behind. Then make sure the cutter is centered, with the same space left and right.
⚠️
Never let the cutter stick out past the fixed blade. That's a negative gap and it will cut skin. When in doubt, leave it a hair behind.
4
Tighten slowly
Snug the screws a little at a time, switching left and right so nothing shifts. Look again once tight. If it moved, redo it. Most people need two or three tries the first time.
5
Oil and run it
Three drops of oil across the teeth, run it for 10 seconds, wipe off the extra. Rattling means a loose screw. Grinding means the blades are rubbing wrong.
6
Test on yourself
Lightly run it on your forearm. It should cut clean with no pulling and no nicks. If it bites at all, move the fixed blade forward a touch and tighten again.
"If you're not sure, leave it a hair behind. You'll still get a crisp line. Nobody notices a hair's width. Everybody notices a cut."
— Brian Campos, Primos Barber Supply
Do this, not that
✓ Do
- Clean the blade before you start
- Tighten screws a little at a time
- Oil it after every adjustment
- Test on your own arm first
✗ Don't
- Take the screws all the way out
- Let the cutter go past the edge
- Crank one screw tight before the other
- Try it on a client before your arm
Signs your gap is off
✂️ Pulling or skipping
Too open, or the blade is dirty or dry.
🩹 Nicks or irritation
Too close or past the edge. Back it off.
📏 Lines aren't crisp
The cutter isn't centered side to side.
🔥 Runs hot or loud
Blades are rubbing. Oil it and recheck the screws.
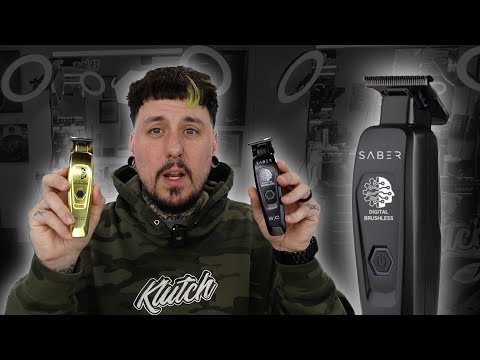
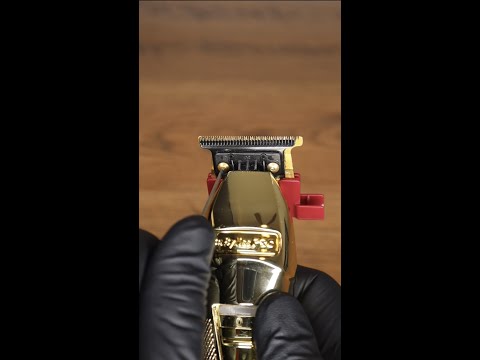
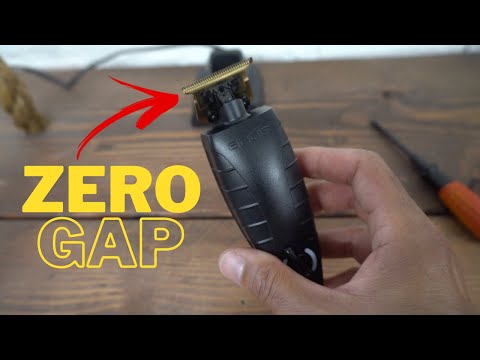
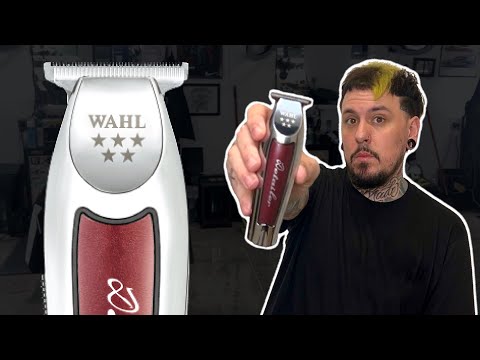
Zero gap videos for your trimmer
Every brand is a little different. Find yours:
When to replace the blade instead
If the blade is clean, oiled and lined up and it still pulls, the teeth are worn. A new blade is cheaper than fighting a dull one, and it's the perfect time to zero gap from scratch.


Frequently asked questions
Is zero gapping safe?
Yes, as long as the cutter stays even with or behind the fixed blade. The danger is going past it. Always test on your own arm before using it on a client.
Should beginners zero gap?
If you're still learning, keep a small gap until your hand is steady. A zero-gapped trimmer is less forgiving on necklines and around the ears.
How often should I zero gap my trimmer?
Any time you take the blade off to clean it, put on a new blade, or drop the trimmer. Otherwise, check it once a week.
Will zero gapping void my warranty?
It can with some brands. Check your trimmer's warranty before you adjust the blade.
Can I zero gap my clippers too?
Yes, it works the same way. Most barbers zero gap the trimmer and keep the clipper a little more open for blending.
Shop trimmer blades and oil
Everything in this guide is in stock. Stop by our Federal Way store at The Commons, or shop online.
Keep your tools running: read how to clean, oil and disinfect your clippers and our guide to the best barber trimmers in 2026.
Leave a comment